In this guide I take a look at how to program a trail camera, plus the steps to take when first opening a camera straight out the box.
Right through to finally checking on the camera after its first placement at a scouting location.
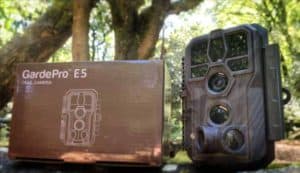
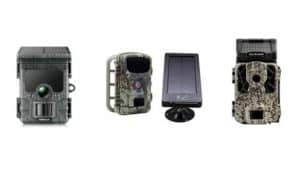
After making the initial choice on which new trail cam to get, it’s always great to finally get your hands on the box when you get home.
Most cameras come bundled with a few extras these days. Tree straps, mounting brackets, SD cards and even a card reader in some instances.
Spend a few minutes making sure all the pieces are in the box are as advertised, plus the instruction manual and any warranty card are enclosed.
Check the rubber grommet seals between the battery compartment, the front facia and control panel at the back to make sure the seal are in good order.
Look for any signs of damage or scratches to the PIR sensor, camera lens, plus the infrared illuminators.
Table of Contents - Fast Navigation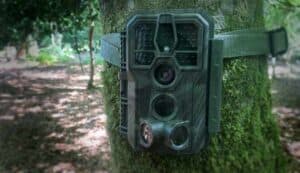

Choosing the right batteries is critical for the best performance from a trail camera.
Batteries come in 3 types.
My choice of battery is always Lithium. The reason is simply, they offer the best performance to cost ratio. The initial outlay is more, but they’ll last far longer than alkaline batteries.
Alkaline batteries once they drop below 50% continue to power the camera but the performance is affected. The drop in performance is shown by lack of illumination from the LED emitters that are used to illuminate animals at night.
Rechargeable batteries may seem a good idea but most of them have too low a voltage over time to keep a trail camera running to maximum levels.
If you’d like to know more about batteries for trail cameras have a look at this article I have written dedicated to the subject.
SD cards are inexpensive these days. The majority of trail cams work with sizes up to 32GB. I’d suggest a class 8 or above, ideally class 10.
The class of an SD card denotes how fast it handles data being stored. For a full HD trail camera, class 10 is essential. Have a read of my article dedicated to SD cards.
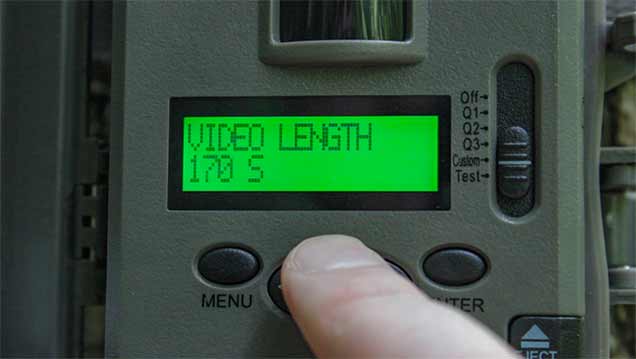
With the camera checked over, batteries installed, plus a suitable SD card it’s time to take a look at all those menu settings inside the camera itself.
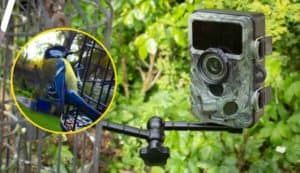
Menu settings are accessed usually by the color LCD viewing screen. The viewing screen is sometimes located in the door of the camera or as in the case of Browning trail cams at the back of the camera housing.
The big advantage with the viewing screen at the back is that you can see what the camera lens is pointing at when setting up the camera in situ.
On most trail cameras you’ll find 3 main settings.
Still picture mode usually has the option of setting the resolution of the picture. The bigger the picture size the less pictures you’ll be able to store on the SD card.
If your planning on leaving the camera to run for say, 6 months then it may be worth setting the pictures to low res.
Video mode will also have an option to record in full HD or 720P. 720P being the smaller resolution. The video below will give you an idea of what to expect when setting up a trail camera. The camera shown here is the Browning XD Pro.
Time lapse means the trail camera is set to record for a set duration. It may be for 24 hours a day or an hour either side of dusk or dawn.
Still pictures or video are recorded in short bursts for a set duration. The 2 settings that control these parameters are duration and interval.
Let’s say the time lapse is set to an interval of 5 minutes and a duration of 10 seconds. That means the camera will record a video clip every 5 minutes for 10 seconds.
Burst mode is part of the still picture settings. It simply means the camera will record either 3, 5 or in some cases 8 pictures one after the other when the camera is triggered.
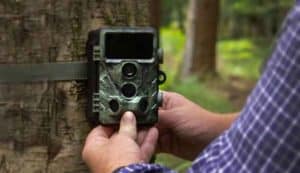
Now I’ve taken a look at how to set up a trail camera. It’s time to check that the camera works before heading out to the scouting area.
This may seem a pain in the butt, but trust me, trail cameras whatever make or brand are known to sometimes have a bad camera in their production batch.
All you need to do is set the camera up in the backyard and walk across the camera detection zone.
Wlak at around 20 metres away, both during the day and at night to test to see that the PIR sensor is working and the LED illumination is doing its job.